Wednesday, November 30, 2011

Preview: Mavic Crossmax SX 2012

After more than 2 years of use/abuse of my Sun Ringle Equalizer-29 rims, coupled with Hope Pro 2 hubs, I finally got some new wheels for my AM riding.
I decided to go for the Mavic Crossmax SX 2012, for several reasons; I have never been on straight-pull spokes before, and secondly I knew that Mavic has its AM line dialed when it comes to strengh.
Mavic has revised the Crossmax SX for 2012. Its gotten stronger by the use of a new rim extrusion, a new graphics package is in place as well. Other than that its known for its stiffness and strengh, albeit some hub issues, but ill get back to that in a moment.


The strongest and the best Mavic has to offer for AM riding.
(click to enlarge)

ITS-4 hub, loved and hated. Some people run these hubs without ever running into issues, other riders report of reliability issues. I hope that I fall into the first group of people.
(click to enlarge)

The Crossmax SX has a Maxtal rim, its 30% stronger than 6106 alloy, and tests has continuously shown that these rims has an immense strengh. The rims are even used for pro-level slopestyle, propably some of the most stressfull challenge you can pose a mtb rim.
(click to enlarge)

The spokes use a Zicral Alloy, its a very strong alloy of the 7075 series, with a strengh comparable to steel - just without the weight penalty. One interesting use for 7075 alloy is in the manufacture of M16 rifles for the military. Ok back on topic, so, im not a big fan of proprietary stuff, I actually often advocate against it, but the Zicral spokes didnt scare me away because of two things; they have a good rep for not breaking, and despite what some might say, replacement spokes are actually easy to get hold of, well for me anyway, as my LBS carries them.
(click to enlarge)

Front wheel, 826g.
(click to enlarge)

Rear Wheel, 937g
That makes for an actual total weight of: 1763g - pretty damn close to the claimed 1755g.
(click to enlarge)

So I allready had my first 11 hours of actual trail time on these hoops. My initial impressions are very positive. By switching to this wheelset I dropped a whopping 680 grams of the wheels (!). The wheels are stiff and responsive, In fact, im abit surprised as to how much more easy its actually become to roll my bike after the switch (well maybe all that talk about rotational weight was correct after all, heh)

The wheelset came standard with a 9x135 axle setup, so I had to convert it to a 12x135 to make it compatible with my bike. The problem was however that Mavic has done a really poor job of telling how to do that, I just knew it was possible. The included manual mentions nothing, and the online manual was very poor, so I had to google a bit, and after a little guessing and trial and error, I succeeded, its actually pretty simple, and I reckon I could do any conversion within 2-3 minutes.  A x12 convertion kit was included as well btw.

Will these rims, spokes and hubs take the beating of my countless sideways landings, and general riding, or will they fail big time with a bang coupled with a furious fireball.. Well time will tell, stick around as I do a complete review, right here, on All Mountain Next. (thanks to Drea for hooking me up with these wheels)
(click to enlarge)

Sunday, November 27, 2011

November Sun 2

Awesome november weather has allowed for even more sunny riding, im excited about that, as It really comes unexpected - great stuff.


Awesome shot, including some volume lighting, early morning. I got lucky.
(click to enlarge)
(click to enlarge)

The new booster-drop makes you litterly go from 10kph, to about 40 kph in a single second.
(click to enlarge)

(click to enlarge)
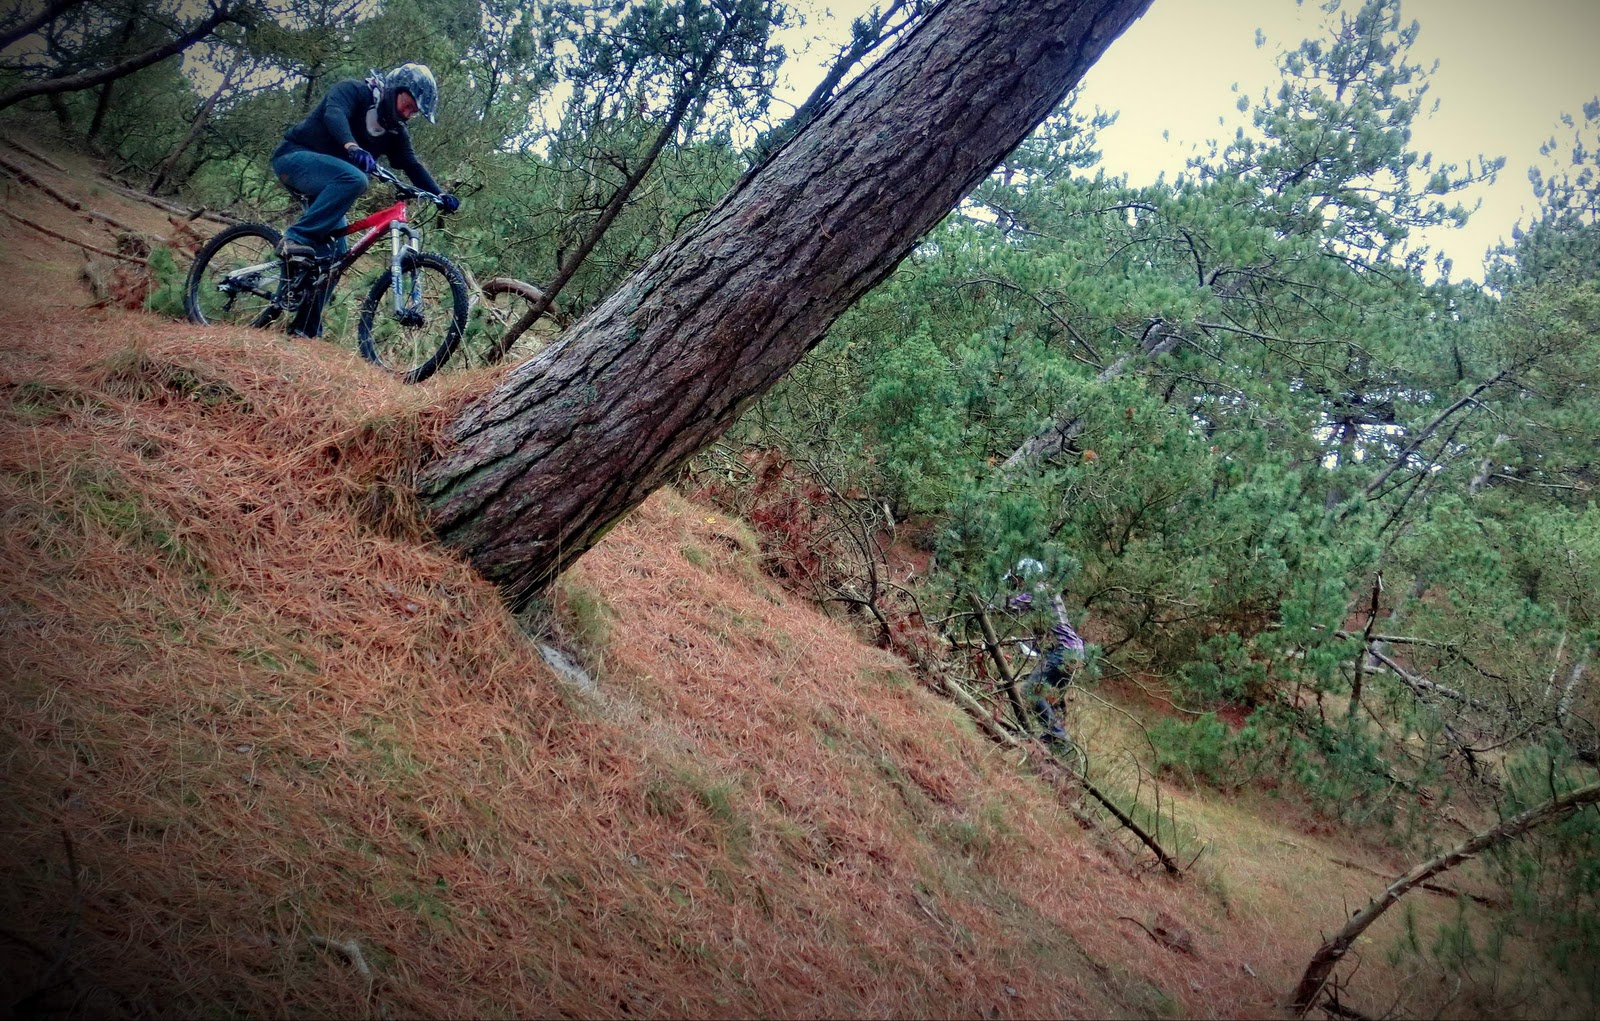
Another lucky shot, this time around I captured it in the evening.
(click to enlarge)

Wednesday, November 23, 2011

November Sun

Its actually been quite sunny recently, cold, but sunny. Grabbed my camera (adjusted it this time around), and shot some pics. What a great day af riding.

These trails where covered with snow last year at this time, happy to see its not like that this time around. Yet.
(click to enlarge)

Its not a foot-tap, if you don't touch the ground ; )
(click to enlarge)

(click to enlarge)

Playing with the camera.
(click to enlarge)

(click to enlarge)
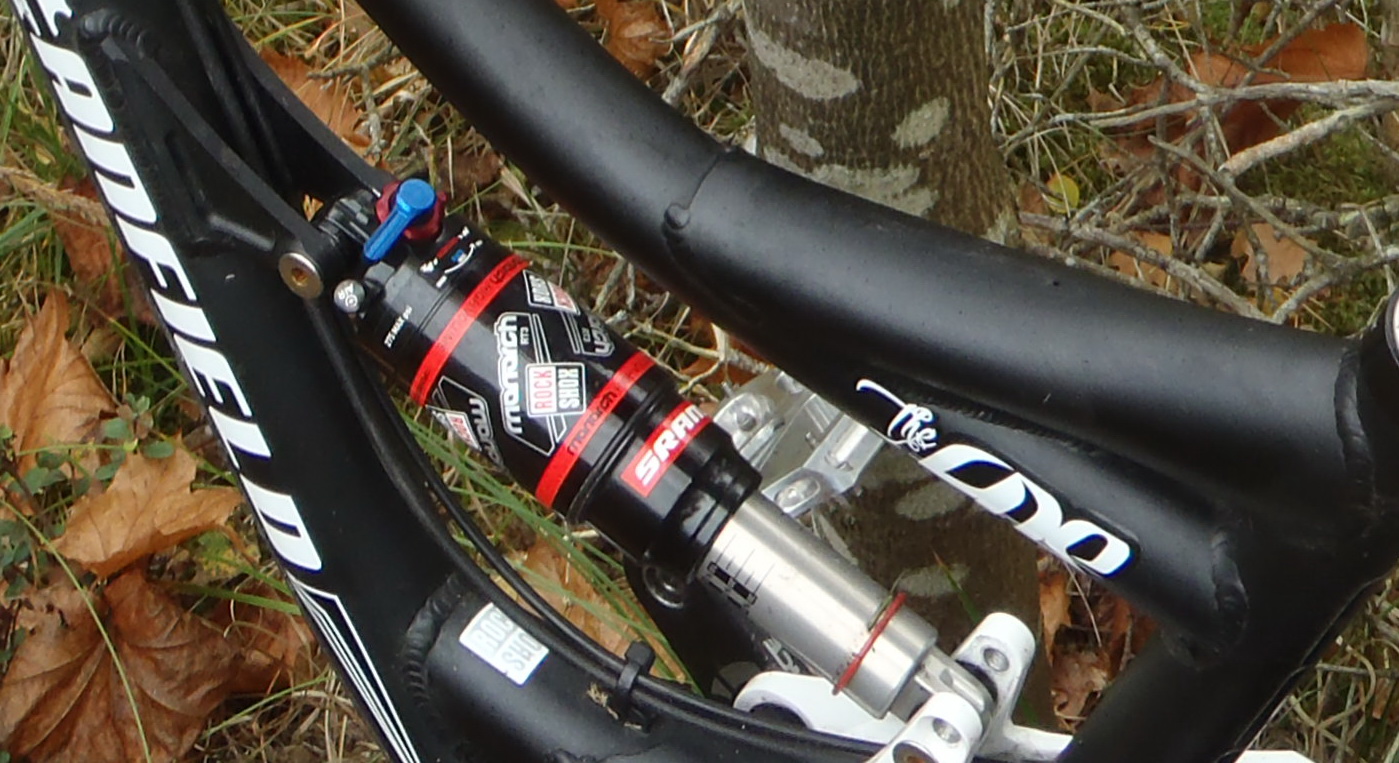
Toying with a new small stepdown, on a longer descend section
(click to enlarge)

Thursday, November 17, 2011

November air Part 2/2

Second part of our air corrupted session.

Peter test riding the newly-angled stepup, landing is to the upper far left corner. He almost made it. If Peter cant, then I guess nobody can. Damn pesky step-ups.
(click to enlarge)

 Madsen going full throttle
(click to enlarge)

Plain vanilla style
(click to enlarge)

Peter litterly drops in the background.
(click to enlarge)

(click to enlarge)

Tuesday, November 15, 2011

November air Part 1/2

Met up with some old mountain bike buddies recently, and we got ourself a whole day of riding. Spirits where high, wheather was cold, but we all managed to get by this day without any crashes or mechanical faults - kinda unusual when I ride with these guys - im not complaining tho' : ) Shot some pics with my new cam, but didnt notice that it was set at "auto-white-adjust" so the colors got a bit one-dimensional, well, lesson learned. Anyway, here are some of the riding we did:

First up is Peter.
(click to enlarge)

Kedde toying with a small, but fast section.
(click to enlarge)

(click to enlarge)

Madsen (re)analysing this drop at the natural kicker. Landing is somewhere at the bottom of this pic.
(click to enlarge)

A bit camera shy, you have to be quick to catch whatever Peter does next. Riding a tree? Sure.
(click to enlarge)


Thursday, November 10, 2011

Video: Whistler Trail Riding

Finally had some time to edit some of the footage I shot in Whistler. I have loads of footage from Whistler Bikepark, but as of yet, I dont have an idea of what direction I want that video to go. So for now, I made this rather basic edit for the trail riding I did in the Whistler area. Btw, I wrote abit about Whistler trail riding, check it out here.

Be sure to check out the vid at youtube at 480p. For the embedded version:


Saturday, November 5, 2011

New Camera

I got fed up with my sluggish Olympus Tough 3000 camera, so I got myself a Casio EX-ZR10 - the big brother to my former Casio FC100 camera. The best thing about it? High-Speed.

It might look simple, put its crazy powerful for its size and price.


Tiny stepup. Raw edit. No sound. 240 FPS:

Expect to see some nice pics in the future, as well as more High Speed footage.

Monday, October 31, 2011

Bad leg protection

I just recently did a knee pad comparision, and concluded that there are some pretty neat options out there. I cant say the same however for full knee-shin protectors. Ive had 4 as of yet, and none of them have been particularly good. Infact, im utterly disappointed. Take a look at some of those knee-shin protectors ive been using so far:

The problem with the 661 Comp Knee is a lack of knee protection, the front has good cover, but the sides are exposed, definitely a no-go when riding DH or FR. I also noticed that they would slide in different
 directions, everytime I had a crash.

Granted the RaceFace Rally FR is best of the 3 mentioned in this post. But this RaceFace product fails on the comfort. Lower leg, and upper knee are badly irritated after some hours (4+) of use. The Rally FR rubs your skin, making it red and sore. And its not just me, other riders with this product are reporting similar problems.

The problem with the FOX Launch Pro Knee/Shin guard is lack of side protection at the knee. Its basically non existent. This really comes as a surprise, as the Fox Launch Pad Pro had left me with such a positive impression. What where they thinking?


All I want is a good knee-shin protector for bikeparks. Im looking for something comfortable, as well as something that covers a good deal of the knee, and stays in place. Am I really asking for too much? Im currently considering the 2012 POC VPD 2.0 Knee/Shin guard, or the more burly FOX Titan Knee Guard. Got a suggestion for me to try out? Or something to stay away from? Write me a comment, and I might just check it out (or keep away from). Comments does not require a sign-in.

Tuesday, October 25, 2011

Review: Rock Shox Monarch RT3 2011 (2012)

My initial expectations for the Monarch RT3 shock where very high. Rock Shox promised a revised 2011 monarch, that had a competent midstroke, and factory set high speed rebound. This combined with a 3 way compression setting, sounded like just the right shock for me and my AM riding.

The first version I got was faulty, the shock had issues with compression and rebound, had to send it back in, and got a new version - faulty as well. You can imagine my frustration at this point. So had to send it back in, again, and I finally got a working version, and after 7 months of testing I can finally pin a review.

RockShox has stated that there is no difference between the 2011 and 2012 version.
(click to enlarge)

The RT3 has a 3 way compression tune, a low-speed rebound, and an internal pre-set highspeed rebound. I went for the high volume canister.
(click to enlarge)


Black and Pink line shows the official Rockshox spring curves. Green, Blue, and Red shows my impressions of the spring curve of a given compression setting.
So what you are looking at here, is a shock that takes a while to activate, as well as having a persistent tendency to stabilise on the hard-feeling sag. Small bump sensitivity is poor - I don't mind that actually, as my trails are very forgiving to such behavior. After the sag, the shock actually has a very good mid-stroke support, and ramps up nicely, but refuses to use all travel, as illustrated on the grapf.
All this is coupled with the fact that the 3 diffrent compression setting are actually giving 3 different shock behaviors, and for once ive actually been using the different compression settings - whereas I usually just set it in one place, and forget about it.

Blue: High compression setting
Green: Medium compression setting
Red: Low compression setting
(Grapf is simplified to better illustrate behavior.)
(click to enlarge)

Weight resembles a FOX RP23, size shown is a 216x63mm, with bushings:
(click to enlarge)

Set the compression to high, and enjoy a "firm" setting that makes you propel faster on pedally sections, but still allows the wheel to tracks the ground. Don't expect great small bump sensitivity tho'
 (click to enlarge)


The Monarch RT3 does a great job sucking in well transitioned hits, small and big. Square-bump hits is another story, it feels inconsistent, and will sometimes give a kickback. Makes me wonder why the high-speed rebound doesn't kick in.
(click to enlarge)

The Good:
-Very competent platform settings, it really has 3 settings.
-Great mid stroke
-Handles big hits very well
-Different tune options
-You can get racy xc performance, whilst still being able to take hard hits

The Bad:
-High speed rebound feels inconsistent
-Does not use full travel
-Negative air spring problems in the High-Compression setting when riding flat sections.

Score: 3/6

As I stated before, I had somewhat high expectations for this shock, and it just didnt deliver what I expected. Its not a bad shock, it definately has its moments, but overall its nothing special. So once again I end up with a shock, that doesnt live up to my idea of a good AM shock. Funny thing is, that the best air shock I have been on so far, was a 2009 Fox Float R. Cheap, consistent, and just felt damn good. So, where do I go from here shock wise?

Friday, October 21, 2011

October AM 2

Been out riding some more, shot some pics along the way. Check it out.

(click to enlarge)

The pic above doesn't show this, but its been a quite a wet affair recently. Im usually a bit shy of rain, but it hasn't bothered me these last few rides, rain or not, ive been out riding.. Much credit goes to my Mavic rainjacket, good stuff.
(click to enlarge)
Wet terrain equals wet roots, and decreased traction. Its all good fun tho'
(click to enlarge)

Find Waldo:
(click to enlarge)

Henning dicking around a small natural drop.
(click to enlarge)

The Ritchey WCS C260 stem is still going strong, not that I expected otherwise. Note the saddle, its the Charge Spoon. Its  a multi award winning saddle, so I just had to try it. Its actually quite comfortable, considering I never use any inside padding in my shorts. Actual weight: 285g.
(click to enlarge)

Monday, October 17, 2011

661 Kyle Strait vs Fox Launch Pad Pro (updated)

Pretty much every rider that wears knee pads know the 661 Kyle Strait, its been here for years, and enjoys the title of being one of the best knee pads out there. It fits the knee well, and protection is good.

The relative newcomer to the "Kyle Strait'ish" knee pad segment is the Fox Launch Pad Pro. Fox is a well established brand, and they have a tendency to do things right, but getting into the knee protection segment, where the 611 Kyle Strait is dominating is definitely not an easy task. I have an impression that Fox took a really long and hard look at the Kyle Strait pad, and began improving upon it.

Let me say this right away; Both pads are very good. There, had to get that off my chest. There is a difference however, have a look:

661 Kyle Strait vs Fox Launch Pad Pro. 
(Click to enlarge)

Comfort:
661: 5/6
Fox: 6/6
Whereas the 661 is less prone to cloth chafting, the Fox sits better on the leg, the Fox pad is also very resistant to unwanted movement because of a silicone strap. The Fox is also 25% lighter, this adds to comfort. Note that the Fox Launch Pad Pro takes considerable more time to "bed in".

Protection:
661: 5/6
Fox: 6/6
Fox has a superior protection in the upper and lower front, the padding on the sides is a bit more thick as well. The front itself, and the sides is almost identical to the 661 offering.

Ventilation:
661: 4/6
Fox: 4/6
I don't feel any difference between the two. I do however think that there is room for improvement, for both brands. They do get hot in the summer.


Durability:
661: 5/6
Fox: 6/6
Both are pretty tough, I do however see that the Fox holds up a bit better. Its not as torn after months of hard use.


I have been using the 661 Kyle Strait for years, and they have served me well.
(Click to enlarge)

The Fox Launch Pad Pro however is new to me, but im really surprised by its quality.
(Click to enlarge)

489g
(Click to enlarge)

382g.  Less weight, more protection, a win-win situation?
(Click to enlarge)

The additional protection the Fox Launch pad offers is mostly in the upper and lower section of the pad. Pads in the sides are a bit more fat as well.
(Click to enlarge)

Final conclusion:

The 661 Kyle Strait is very comfortable to wear, cloth chafting is very rare, and you are most likely to forget that you are even wearing them. The protections is there, albeit inferior to the FOX. You might get some issues if you walk around alot while, say, sessioning, as the 661 tends to slide down the leg a bit. It may, or may not annoy you.

The Fox Launch Pad Pro is more prone to cloth chafting, particular the first few months. But after that, they fit like a glove, and stay where you put them, partly because of the silicon strap. Protection is superior, and its more lightweight.

Should I choose between the Fox Launch Pad Pro and the 661 Kyle Strait, then I would have gone with the FOX offering.